Automatic chicken coop doors are designed to provide security and convenience. However, when the safety sensor malfunctions, it can leave your flock vulnerable to predators. This guide will help you troubleshoot and fix a coop door safety sensor that stays open.
🔍 1. Identify the Sensor Type and Mechanism
Understanding the type of safety sensor your coop door uses is important for effective troubleshooting. Manufacturers typically use one of two sensor types:
Type A: Electronic Current-Sensing (Resistance Detection)
Brands like Chickcozy, Run-Chicken, and Omlet use this system. These doors lack external sensors and instead rely on monitoring the electrical current to the motor.
- Failure Mode: If the door encounters resistance, the motor works harder, increasing electrical resistance. This mimics the effect of a trapped chicken, causing the door to reverse.
Type B: Optical or Physical Limit Switches
Some pulley-style setups or custom kits use infrared beams or mechanical switches.
- Failure Mode: Dust or debris blocking the sensor can make the system think a chicken is in the doorway, preventing closure.
🛠️ 2. Step-by-Step Sensor Troubleshooting Protocol
Follow these steps to diagnose and resolve issues with your coop door's safety sensor.
Step 1: The Substrate and Bedding Clear-Out
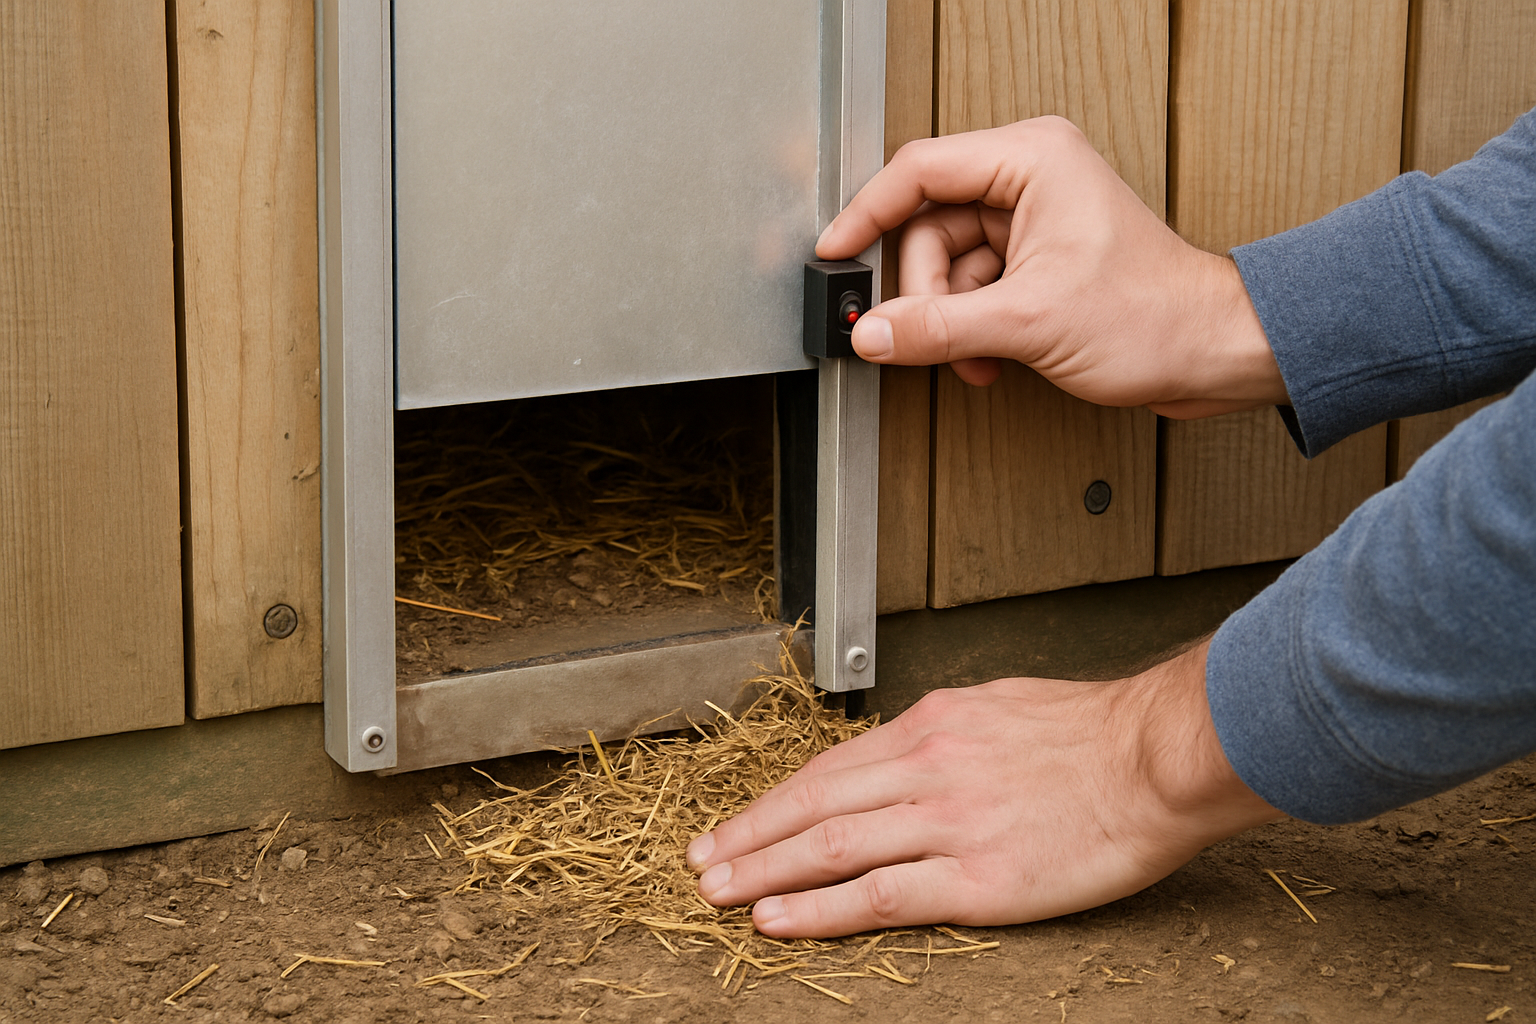
Debris at the door's base is a common cause of sensor trips.
- Problem: Bedding or manure can block the door's path, causing it to reverse.
- Solution: Clear the track and install a 4-to-6-inch kickboard to prevent debris from entering the door's path.
Step 2: Diagnose and Correct Track Misalignment
Misaligned frames can cause the door to bind and trigger safety mechanisms.
- Problem: Changes in humidity or temperature can warp wooden frames, causing misalignment.
- Solution: Loosen mounting screws slightly to allow for expansion and ensure smooth door movement.
Step 3: Deep Clean the Friction Channels
Dust and grime can create drag, mimicking an obstruction.
- Problem: Electrostatic chicken dander can build up, causing mechanical drag.
- Solution: Use a stiff brush to clean the tracks. Avoid wet lubricants; use dry silicone spray or graphite powder if necessary.
⚙️ 3. Brand-Specific Calibration Resets
If cleaning and alignment don't solve the issue, recalibrate the control module.
For Chickcozy Doors:
These doors use a horizontal sliding design that may lose track of boundaries.
- Clean the tracking guide scrolls.
- Access the digital menu for calibration or reset.
- Run a manual cycle to reset structural limits.
For ChickenGuard or Pulley-Driven Systems:
- Check for knots or tangles in the lifting cord.
- Reset limit settings via the LCD setup wizard to ensure proper door closure.
📊 Summary: Safety Sensor Troubleshooting Guide
| Symptom | Root Cause | Exact Practical Fix |
|---|---|---|
| Door closes partway, hits floor debris, opens back up | Bedding or frozen manure blocking the bottom threshold. | Clear the track and install an interior bedding guard board. |
| Door stalls and reverses halfway down clear tracks | Warped frame or overly tight mounting screws pinching the door. | Loosen mounting screws a quarter-turn to realign the vertical tracks. |
| Silent drag causing the motor to trigger safety reverse | Electrostatic chicken dander and grime building up inside grooves. | Scrub channels with a dry nylon brush; avoid wet oil/grease. |
| Digital error code or continuous looping on clean frame | Corrupted internal travel limits or current-sensing calibrations. | Run an onboard factory/calibration reset to re-learn travel boundaries. |
📝 Final Recommendations
To ensure your coop door operates smoothly, regularly inspect and clean the tracks. Keep the area free of debris and check for any signs of misalignment.
If issues persist, consult the manufacturer's manual for specific calibration instructions. Regular maintenance will help keep your flock safe and secure.
🌿 Environmental Considerations and Impact on Sensor Performance
Humidity and Temperature Fluctuations
Environmental conditions can significantly affect the performance of automatic coop doors. Humidity and temperature changes can cause wooden frames to expand or contract, leading to misalignment of the door tracks. This misalignment can trigger the safety sensor, causing the door to reverse unexpectedly.
- Recommendation: Regularly check the alignment of the door, especially after significant weather changes. Consider using weather-resistant materials or coatings to minimize the impact of environmental fluctuations.
Dust and Debris Accumulation
Coop environments are prone to dust and debris, which can interfere with sensor functionality. Dust accumulation on optical sensors can block the infrared beam, while debris in the tracks can increase friction, mimicking an obstruction.
- Recommendation: Implement a routine cleaning schedule to remove dust and debris from sensors and tracks. Use a soft cloth or brush to clean optical sensors and ensure that the area around the door is kept tidy.
🔧 Advanced Diagnostic Techniques
Component-Level Diagnostics
For persistent issues, a deeper dive into component-level diagnostics may be necessary. This involves checking individual parts such as the motor, sensors, and control board for signs of wear or damage.
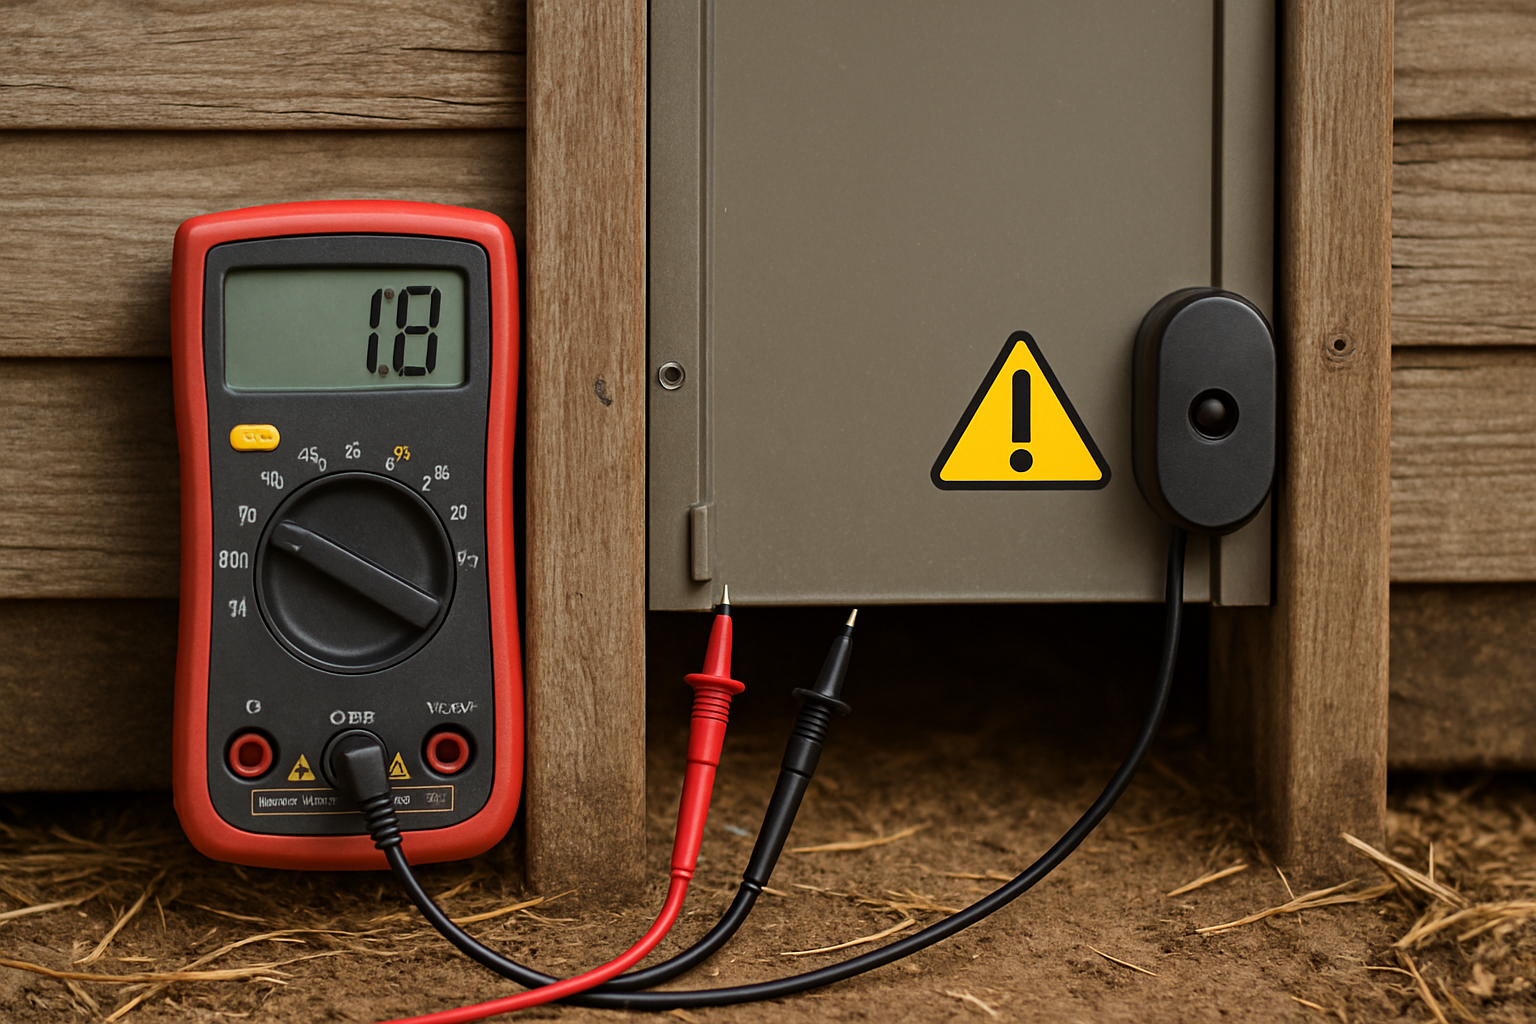
- Motor Check: Listen for unusual noises or vibrations, which may indicate a failing motor. Test the motor's resistance with a multimeter to ensure it is within the manufacturer's specifications.
- Sensor Inspection: Examine sensors for physical damage or misalignment. Ensure that all connections are secure and free from corrosion.
Installation Variables
The initial installation of the coop door can affect its long-term performance. Factors such as the angle of installation, the type of mounting surface, and the tension of the lifting mechanism can all influence sensor behavior.
- Recommendation: Review the installation instructions to ensure compliance with manufacturer guidelines. Adjust the angle and tension as needed to optimize performance.
⚠️ Failure Modes and Prevention Strategies
Common Failure Modes
Understanding common failure modes can help in preventing future issues. These include sensor misalignment, electrical faults, and mechanical wear.
- Sensor Misalignment: Often caused by physical impacts or improper installation. Regularly check and adjust sensor alignment.
- Electrical Faults: Can result from moisture ingress or damaged wiring. Ensure all electrical components are properly sealed and protected from the elements.
- Mechanical Wear: Over time, moving parts may wear out, leading to increased friction or failure. Regularly inspect and replace worn components as needed.
Preventive Maintenance
Implementing a preventive maintenance schedule can extend the life of your coop door and reduce the likelihood of sensor malfunctions.
- Monthly Checks: Inspect and clean sensors, tracks, and moving parts. Test the door's operation to ensure smooth movement.
- Seasonal Adjustments: Make necessary adjustments to account for seasonal changes in temperature and humidity. Recalibrate sensors if needed to maintain optimal performance.
By addressing these environmental and technical factors, you can enhance the reliability of your automatic coop door, ensuring the safety and security of your flock.